VETTEFINDERS.COM 1979 PROJECT CORVETTE |
| Part corvette.19 |
Part 1 | Part 2 | Part 3 | Part 4 | Part 5 | Part 6 | Part 7 | Part 8 | Part 9 | Part 10 | Part 11 | Part 12 | Part 13 | Part 14 | Part 15 | Part 16 | Part 17 | Part 18 | Part 19 | Part 20 | Part 21 | Part 22 | Part 23 | Part 24 | Part 25 | Your Comments | about us |
August 16, 2003
The engine in the project car was suprisingly strong (L-48) and would spin the tires from a stop, but while we had the car apart, we decided to go ahead and install a new cam, intake manifold and some headers. Our sponsors provided us with a Comp Cam (268H), an Edelbrock Performer RPM manifold, new lifters, and a beautiful set of Ceramic coated headers. Since the engine was running strong, we decided not to remove the heads or the bottom end of the motor. We had to clean up the block itself though, because it was ugly as sin. Let's take another look at the BEFORE picture.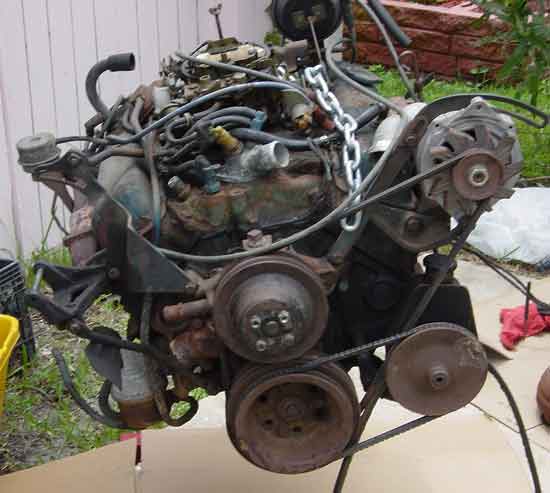
We spent most of the day wiping down the motor with solvents and using an angle grinder with a very agressive wire brush to remove the rust and oil buildup. We installed the new cam and adjusted the valves. We have a "how to" article on valve adjustment right here if you are interested in the details. After adjusting the valves, we primered the engine with engine primer, then painted it with GM blue engine paint. You may notice it looks VERY blue and not like the greenish blue you see on a lot of Corvette motors. Be patient, unfortunately, this paint will turn greenish after years and years of heat cycling. Here's the AFTER picture. Not bad eh? 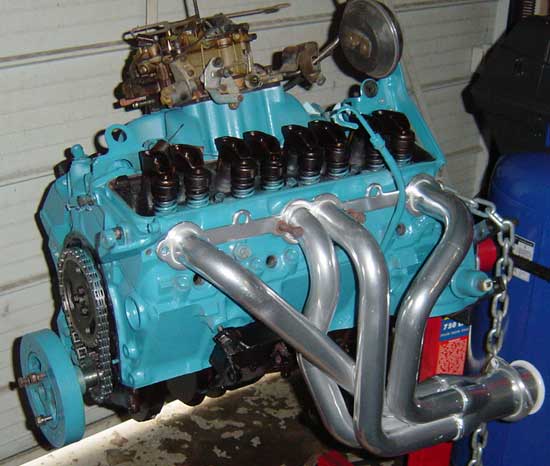
You can see we haven't cleaned up the carburetor quite yet, but we'll handle that next week. We have to handle some more mechanical things in the mean time. We installed the rear brake line blocks, the cross over brake line, and removed the header bar that holds the fiberglass down behind the headlights, so they don't rub the fiberglass when they open. The bar on this car was almost totally separated and we'll be expoxying in a new one as soon as possible. 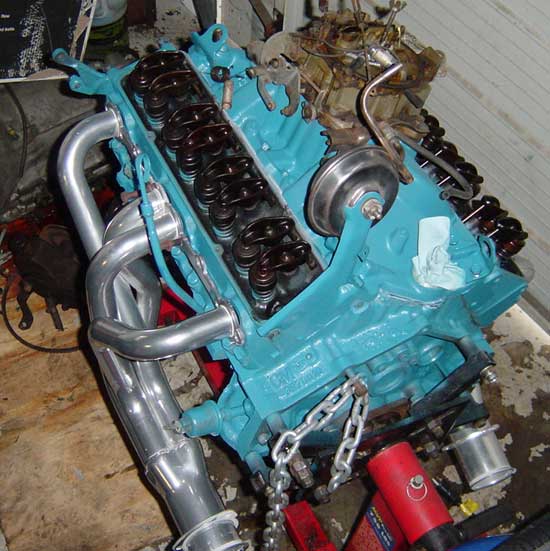
We took a break from the engine, allowing the paint to dry and did a little bit of painting in the engine compartment. That is looking pretty good now too. Next time: header bar, carburetor clean-up, rubber brake line install, and the brake caliper installs. 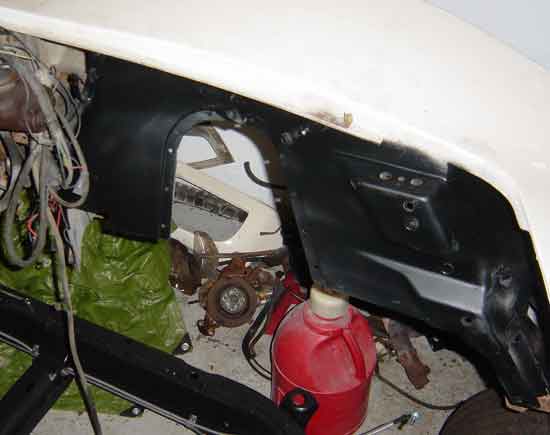
|
| Part corvette.19 |
Part 1 | Part 2 | Part 3 | Part 4 | Part 5 | Part 6 | Part 7 | Part 8 | Part 9 | Part 10 | Part 11 | Part 12 | Part 13 | Part 14 | Part 15 | Part 16 | Part 17 | Part 18 | Part 19 | Part 20 | Part 21 | Part 22 | Part 23 | Part 24 | Part 25 | Your Comments | about us |
Project '79 Sponsors & Contributors

|
 |
 |
 |
| KONI NA | Van Steel | Revivation | Caledonia |